

Add a Real Course to Your Squarespace, Wix, WordPress, or Webflow Website
Drop a Mini Lessons Academy course into any website. Works on Squarespace, Wix, WordPress, Webflow, Netlify, Systeme.io, and more — same iframe code, different embed block.

Your website already pulls its weight. Your newsletter points people to yourcoachingbusiness.com, your about page does its job, your booking calendar sits right where visitors expect it. Then you finish a course in Mini Lessons Academy — and the one thing you most want to sell ends up on a different domain your audience has never seen.
You don't want that. You want the course living on the site you already own — not on a separate domain, not behind a "click here to access our learning platform" button, not on someone else's branded subdomain. You want it on yourcoachingbusiness.com. Right where you already send your traffic.
You can do that today. It's an iframe code and a paste. No plugins. No custom development. No migrating off MLA.
This guide walks through how it works, which embed type to use for which page, and the menu paths inside the four website builders most coaches and creators actually use: Squarespace, Wix, WordPress, and Webflow. The MLA part is identical across all of them — and across most other builders too.
(Haven't built the course yet? That's its own weekend project — here's how to build one without recording a single video, or a look at the AI tools that do the heavy lifting.)
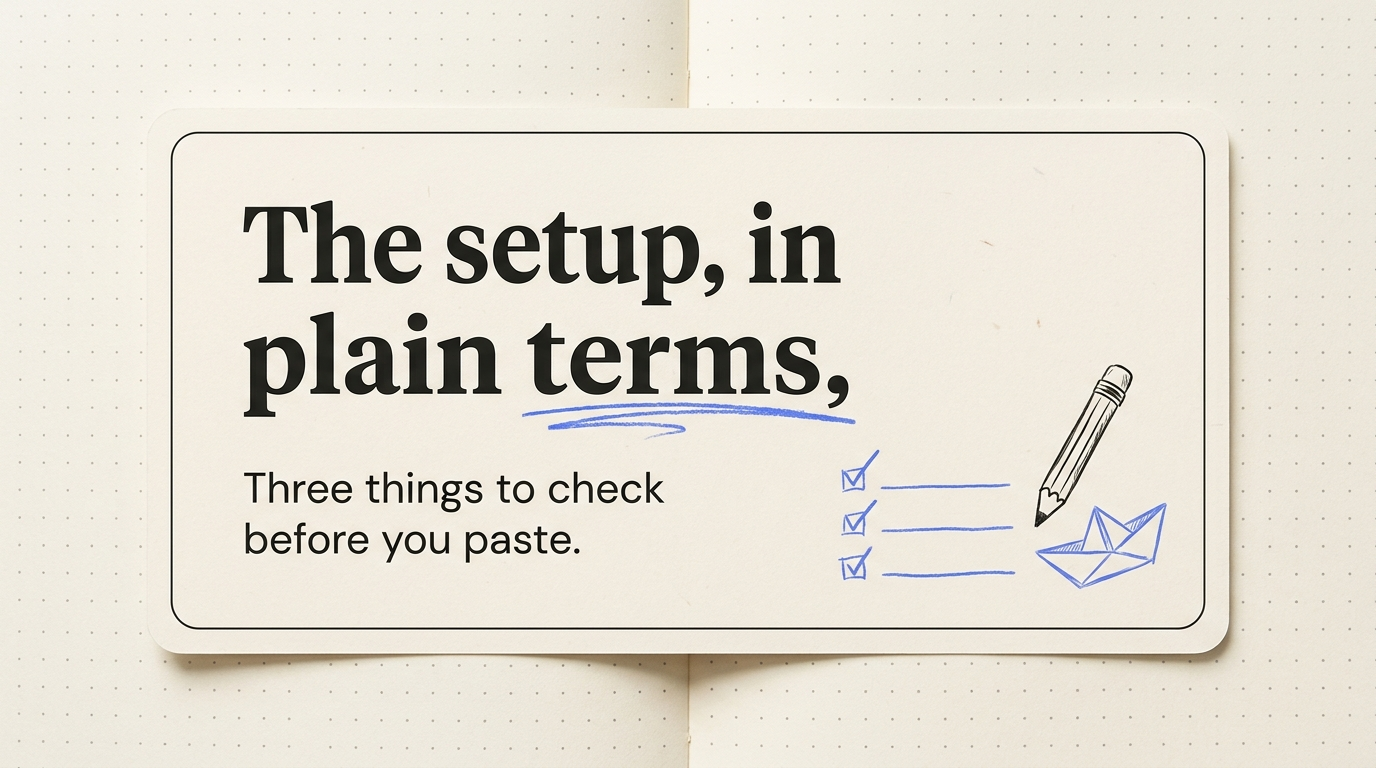
The setup, in plain terms
Three things have to be true:
- You've published your course inside MLA.
- Your website builder supports an embed or custom-HTML block. (All the major ones do.)
- The page you're embedding into has room for the course to breathe — at least 600px tall on desktop.
That's it. Same website you already pay for, same domain you already own, course content delivered natively inside it. The course updates automatically when you edit it in MLA, so you never re-paste code.
The flow:
- You go to your course in MLA and grab an embed code.
- You drop it into your website's embed block.
- Your visitors see the course on your site, not someone else's.
If you've ever embedded a YouTube video or a calendar booking widget into a page, this is the same workflow.
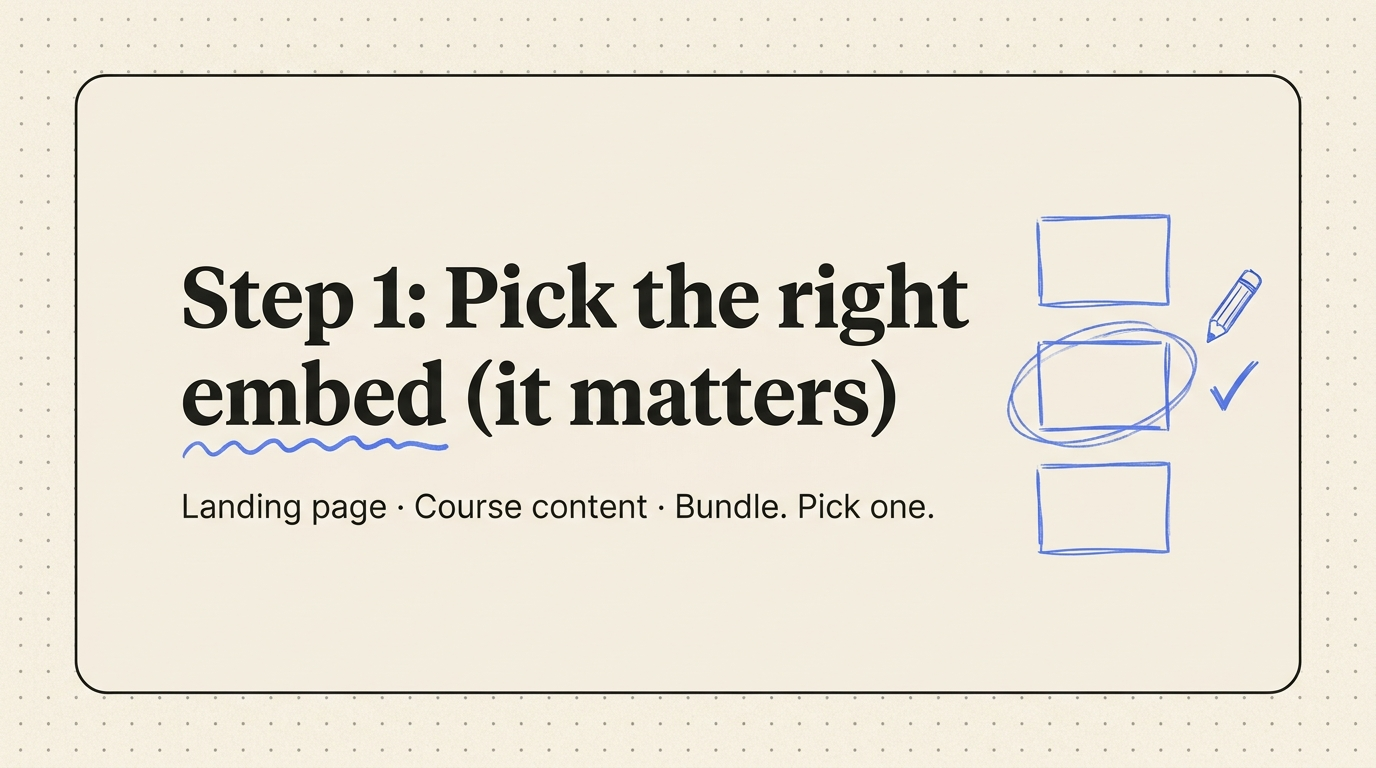
Step 1: Pick the right embed (it matters)
Inside your course, open Content Settings → Embed. You'll see a few different embed codes. Pick the one that matches what you're building.
Landing Page Embed — the full sales page. Includes the hero, course description, enroll button, and checkout. This is the same sales page MLA auto-generates for every course, just dropped into your own site. Use it on your main marketing site when the visitor hasn't bought yet and you want them to enroll directly from your page.
Course Content Embed — the lesson content itself, no sales chrome. Use this on members-only pages, post-purchase access pages, or free-preview lessons where the visitor is already a student.
Bundle Embed — the sales page for a course bundle (multiple courses sold together as a package). Use this when you've grouped several courses into a single offer and want one embed that lets visitors enroll in the whole bundle.
Most creators use the Landing Page Embed on their main marketing site (so the course can be discovered and bought without anyone leaving), the Course Content Embed on a private students-only page they're sent to after purchase, and the Bundle Embed when they're selling a multi-course offer.
Not sure where to start? Use the Landing Page Embed. It does the most work in the fewest steps.
Click the copy button next to whichever code you want. That iframe is what every site builder below is going to paste.
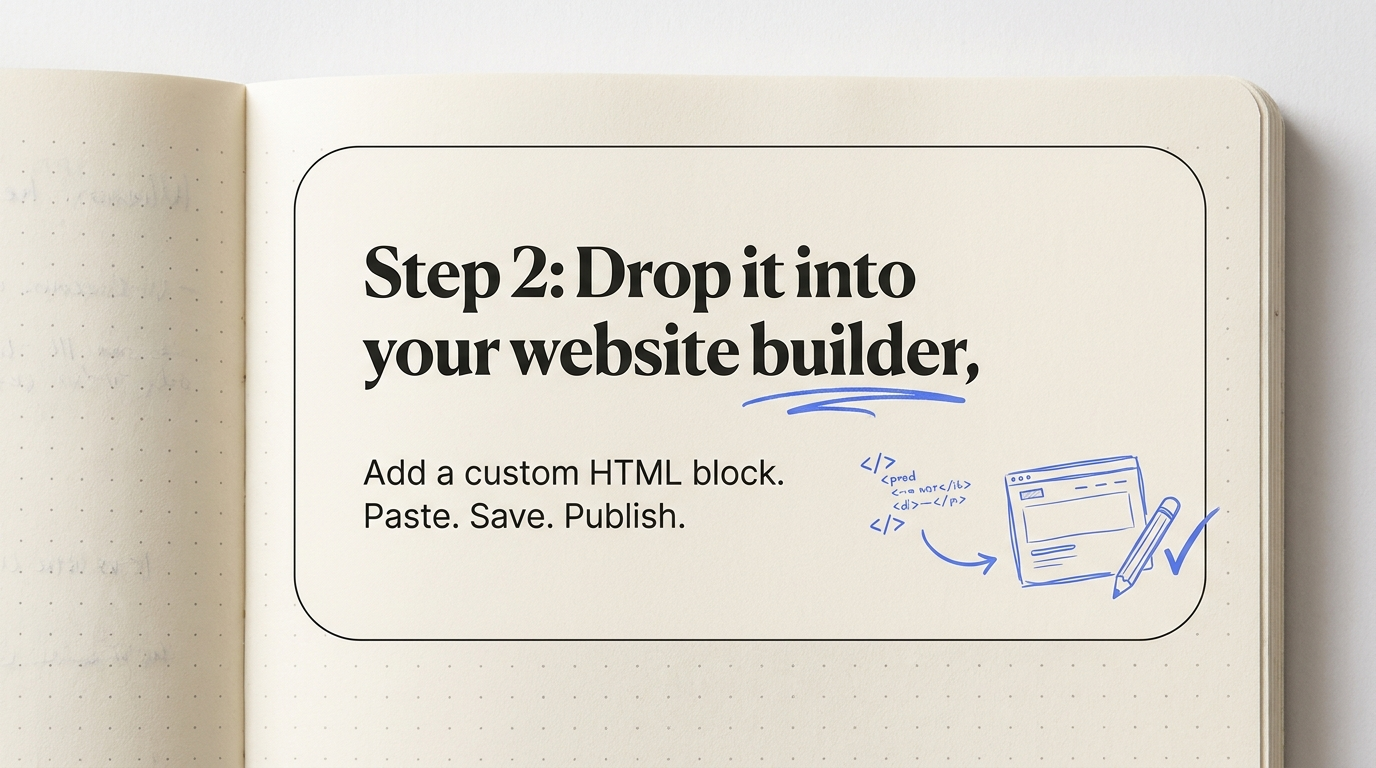
Step 2: Drop it into your website builder
The mechanics are slightly different in each builder, but the concept is identical: add a block that holds raw HTML, paste your embed code, save, publish.
Squarespace
Edit the page and click the + to add a block. Pick Code (the </> icon). Paste your iframe code into the editor, leave the dropdown set to HTML, and save. The course renders inside the page. Squarespace lets you stretch the code block to full width, which is what you want so the course has room — their Code Block support docs have the exact path for your template version.
Wix
In the Wix editor, click Add (+) → Embed → Embed HTML (called Custom Code in newer versions). Paste your iframe code into the HTML window. Drag the embed container to be at least 600px tall — Wix defaults it small, so you have to stretch it manually or the course gets clipped. Then publish. Wix's custom-code documentation covers the container sizing if you get stuck.
WordPress
If you're on the block editor (Gutenberg, the default since 2018): add a new block, search for Custom HTML, paste your iframe code, publish. If you're on the classic editor, switch to the Text tab (not Visual), paste the code where you want it, switch back to Visual to preview, then publish. This works on WordPress.com paid plans and any self-hosted WordPress install — no plugin needed. WordPress's Custom HTML block guide has screenshots if you want them.
Webflow
Add an element, then Embed (in the Components panel under the +). Paste your iframe code into the HTML window and publish. Webflow's free plan caps embed code at 10,000 characters per element — MLA's embed is a few hundred characters, so you're well under the cap. See Webflow's custom code docs for the exact panel location.
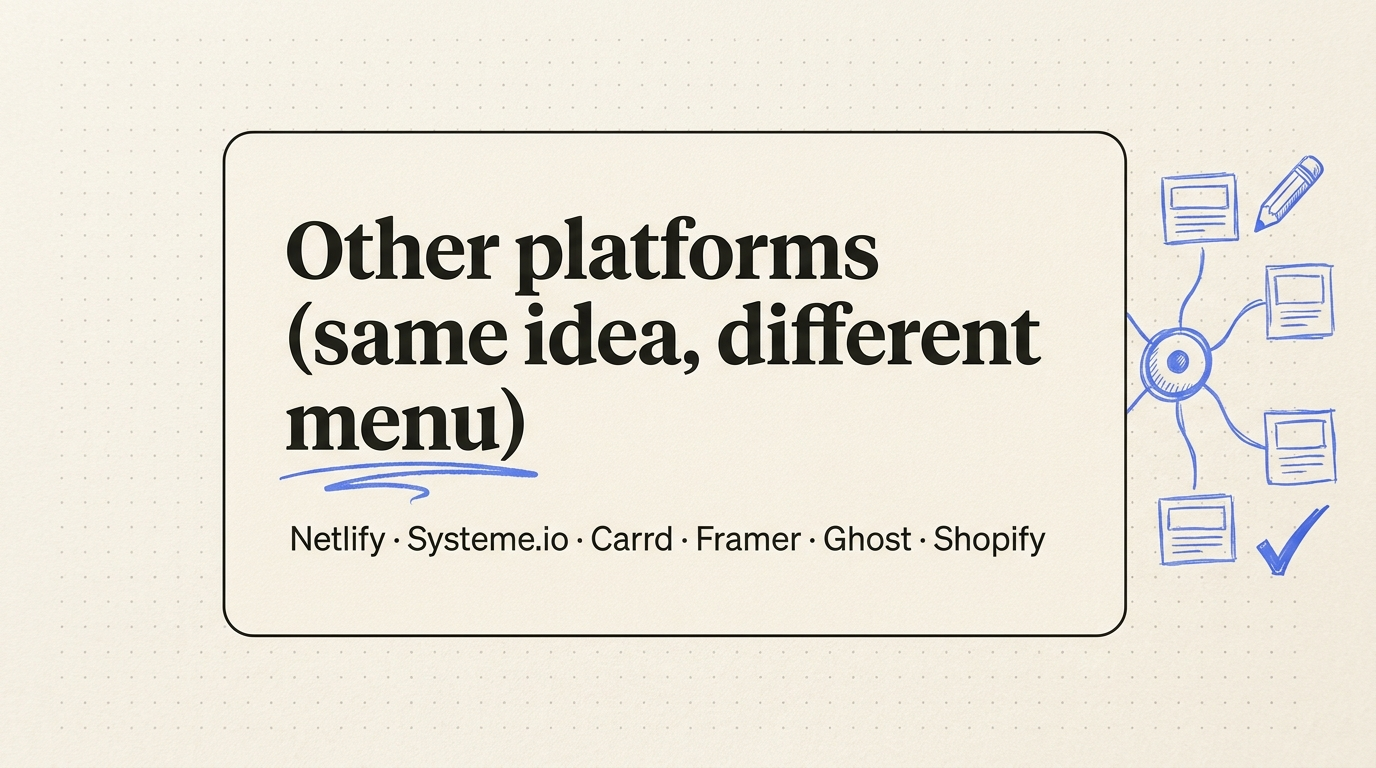
Other platforms (same idea, different menu)
Netlify — if you've deployed a custom site to Netlify, you control the HTML directly. Paste the iframe code into whichever HTML or component file holds the section you want the course in, then redeploy. Netlify's docs cover deploys if you're new to it.
Systeme.io — open the page in the funnel builder, add a Custom HTML element, paste the iframe code, save. Stretch the container to give the course room. Systeme.io's help center has the funnel-builder walkthrough.
Carrd, Framer, Ghost, Substack, Shopify, Notion-as-a-website — all of these have an embed or custom HTML block somewhere in their editor. The paths vary, but the move is the same: find the embed block, paste the iframe, publish.
If your builder has a "Custom HTML" or "Embed" option of any kind, this works.
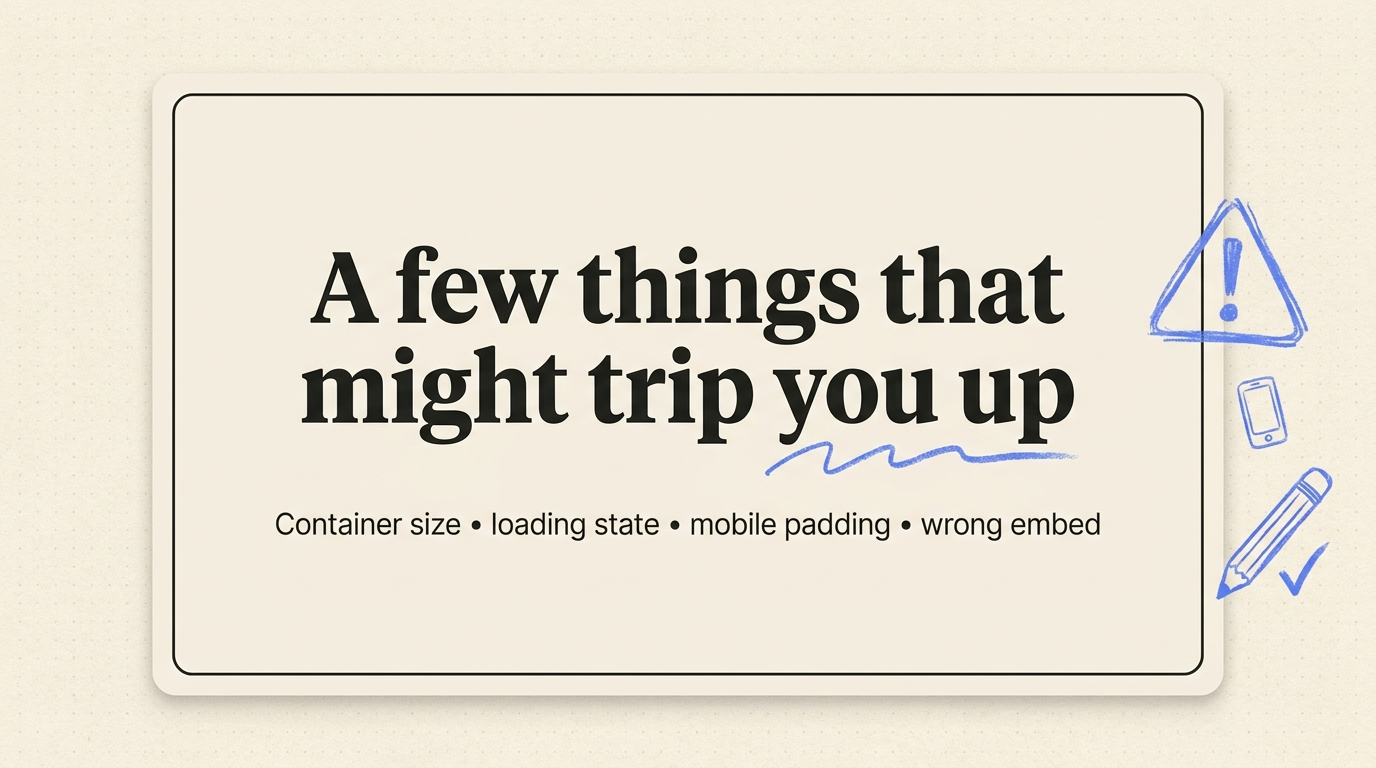
A few things that might trip you up
The course loads slightly slower on first visit. On slower connections you might briefly see a loading state while the course initializes. That's normal — once it's loaded, it stays cached for that visitor.
The container is too small by default. Every page builder ships embed blocks at a small default size. You almost always want to stretch the container so the course has room — 80vh tall on desktop, 600px minimum. If the course looks cramped, that's a container issue, not an embed issue.
A sliver of white on mobile. If your parent section has horizontal padding the iframe doesn't know about, you might see a small white edge on mobile. Set the section the iframe lives in to full-bleed at that breakpoint and it goes away.
Right embed, wrong page. The Landing Page Embed shows the sales page. If you paste it onto your students' members-only access page, they'll see "Enroll Now" instead of their course content. Use the Course Content Embed for access pages.
"Iframe blocked" warning. Some hyper-restrictive intranet hosting setups block external iframes by default. None of the builders above do this. If you hit it, you're on an unusual host — talk to your IT person.
What this is not
This isn't a redirect to a different site. Your students stay on your domain. They never see "app.minilessonsacademy.com" in the address bar — they see your URL. The whole experience reads as yours.
This also isn't a fully white-labeled course platform with your logo replacing MLA's everywhere inside the platform UI. Kajabi will sell you that for $149+/month. Most coaches don't need it. The course content you build is fully yours anyway — your writing, your visuals, your price, your worksheets. The embed simply wraps that course inside your website so visually the whole experience lives where your visitors already are. (If you're weighing the two, we put them side by side in MLA vs Kajabi.)
For the 95% of coaches, agencies, and subject matter experts who don't have a 7-figure course empire to justify the price tag, embedding inside the site you already own is the actual answer. Not a separate platform that costs more and locks your audience into someone else's URL.
"Other platforms try to do too much, but MLA helps you take what you already know and turn it into something structured that people can actually follow. I want to spend my time creating, not learning a new skillset just to use a course creation app."
— Vincent Polite, Founder, ATLV Marketing
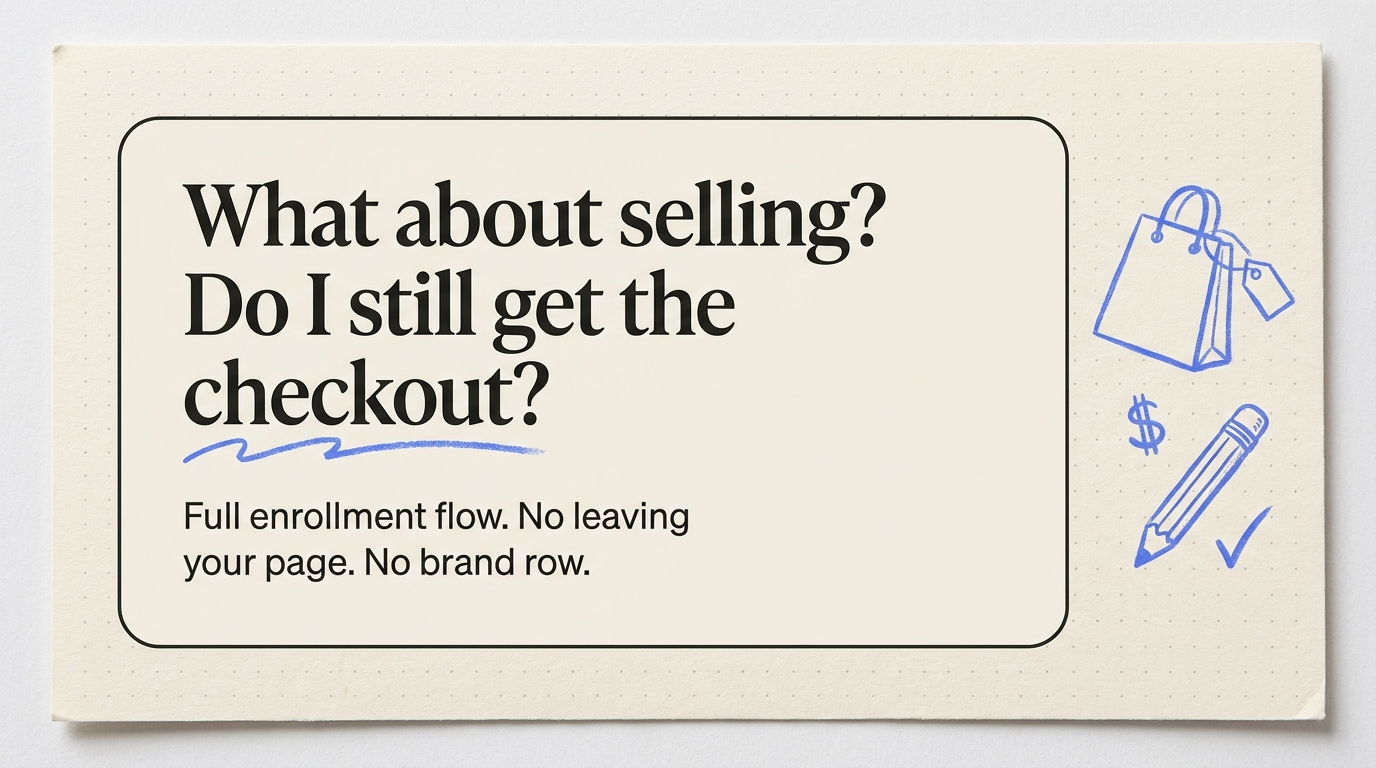
What about selling? Do I still get the checkout?
Yes. The Landing Page Embed and the Bundle Embed both include the full enrollment flow. Visitors can hit Enroll and complete checkout without ever leaving your page. MLA handles payment processing and access delivery; your site holds the marketing wrapper around it.
If you're embedding the sales page, it's worth getting the price right before you do — most first-time creators underprice by a wide margin. We pulled the actual numbers from 400+ creators if you want a benchmark. And if you've also got an ebook version of the material, here's how to sell that alongside the course without building a second funnel.
The whole thing in one paragraph
Open your course in MLA. Go to Content Settings → Embed. Copy the embed code that matches what you're trying to do. Open your website builder. Add a Custom HTML or Embed block. Paste the code. Publish.
That's the guide. Everything above is just the menu paths.
Common Questions
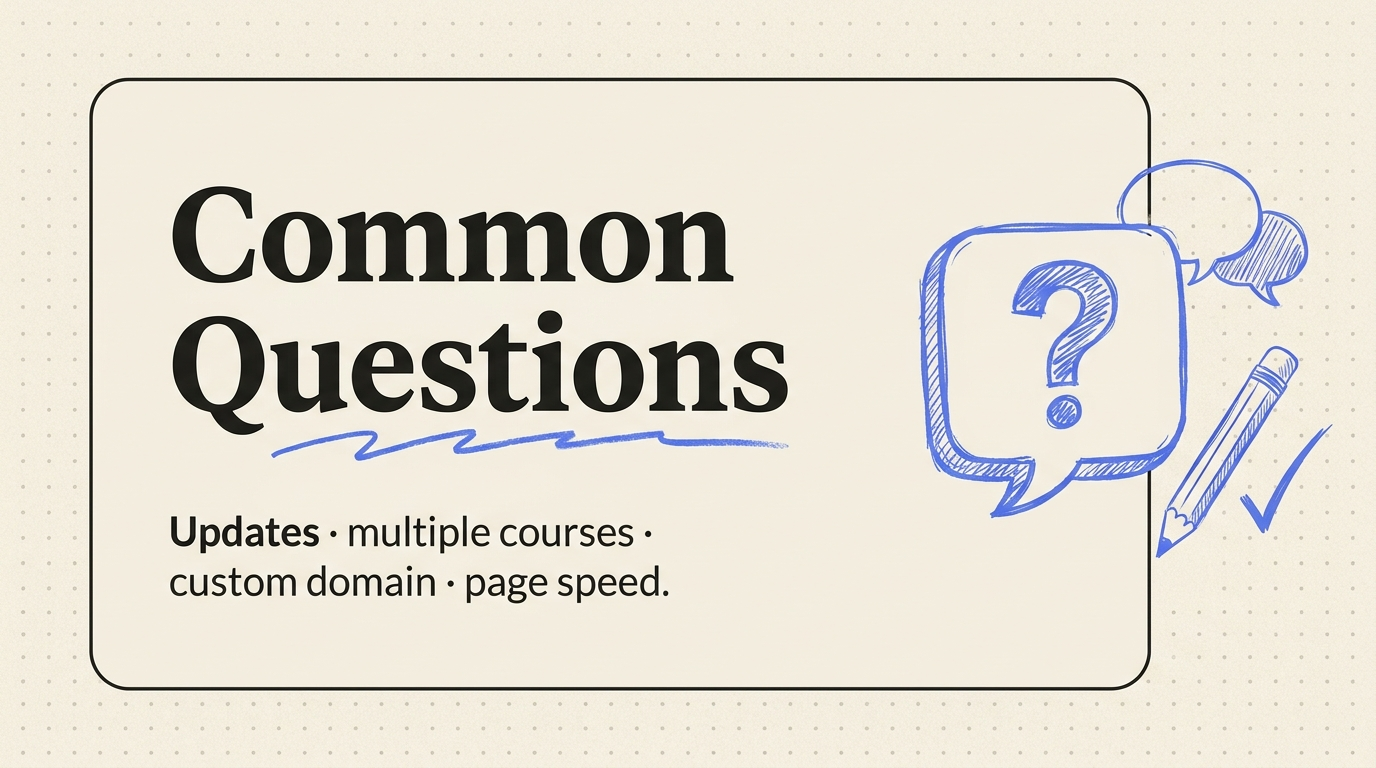
"Will the embed update when I edit the course?" Yes — automatically. You change something in MLA, the embedded version on your website reflects the change immediately. You never re-paste code.
"Can I embed multiple courses on the same page?" Yes. Paste multiple iframe codes, one per course. Stack them vertically or use your builder's column layout to put them side-by-side. This is how you build a course-library page on your site without leaving MLA.
"Does this work with my custom domain?" Yes. The iframe doesn't care what domain it's on. Your site stays on yourcoachingbusiness.com; the embed lives inside it. No DNS to configure.
"Does the embed slow my page down?" The iframe uses lazy loading by default, so it doesn't load until the visitor scrolls near it. Your page loads at normal speed; the course loads on demand.
"What if I want students to access the course from outside my website too?" They can. The course also lives at its own URL on MLA, and any links you sent before still work. The embed is additive — it gives you a second front door (your site) without closing the first one.
"What does it cost to embed?" The embed is included on every Mini Lessons Academy plan. There's no add-on fee, no upgrade required. The plan you're already on covers it.
Ready to embed your first course? Head to your course's Content Settings → Embed tab inside Mini Lessons Academy, or start a free trial if you haven't built your course yet.
Recommended Reading
You might also be interested in these related articles
How to Turn Your Course or Ebook Into an Audiobook Without Recording
Audio is the format most creators skip — and the one their audience consumes on the move. Here's how to turn a course or ebook into narrated audio without a microphone, a studio, or a single retake.
Read moreHow Agencies Use Online Courses to Onboard Clients and Scale
Agencies repeat the same explanations to every client and every new hire. A course captures that knowledge once — speeding up onboarding, standardizing the work, and even opening a new revenue line. Here's how.
Read moreMini Lessons Academy vs Kajabi vs Teachable: An Honest Comparison
Three popular ways to build and sell a course, three different philosophies. Here's an honest look at who each one is actually for — including when one of the others is the better pick.
Read more